My keyboard journey
My keyboard journey began when I first saw a so-called ergonomic keyboard by Microsoft. It was wonderful; it was magic! Although I understand now that it was actually crap.
I was a happy Microsoft ergonomic keyboard user for a couple of years, and then I discovered the Kinesis Advantage. It was a birthday present organized by my best friend, and for the last 14 years, I have been using it every day, for many hours on end. Do I wish it were black? Of course. But I’m still incredibly happy with this thing for over a decade.
When I first got the Advantage, I was completely puzzled. I thought I could touch-type, but it turned out not to be the case. It took me at least two weeks to become comfortable with my new keyboard, but since then, everything else feels alien. Laptops were out of the question. Considering how huge this thing is, there was no way I could lug it around. I realize I’m a couple of years late to the mini-keyboard party, but the experience was just as exhilarating as my introduction to the Advantage.
I had this idea that because I couldn’t carry my huge keyboard with me, maybe I could use something else that wouldn’t make me break all my habits and re-learn the wretched row-staggered keyboard. That’s how I discovered the wonderful world of split keyboards. After watching many hours of YouTube, I decided on the smallest number of keys possible (3x5 plus modifiers) and the lowest profile possible. The aim was to have a keyboard that would allow me to use the same muscle memory as my Advantage at home while being low profile and tiny, so I could easily throw it in my laptop sleeve.
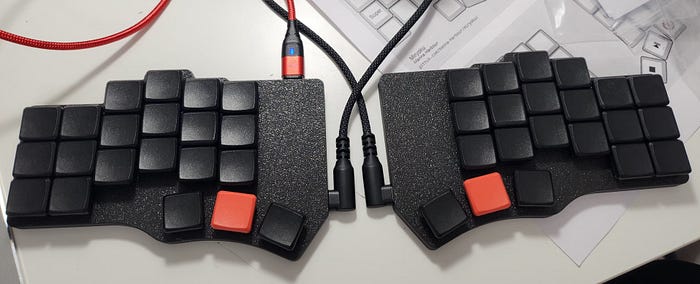
At first, I thought about getting a Totem keyboard (BTW, all these things are open source, including hardware!), but I couldn’t find a pre-soldered kit. I’m not very good with a soldering iron, so that was that. Then I discovered that there’s a model that is remarkably close in appearance and function, called Piantor Pro, made by the wonderful people at Beekeeyb.io. So, I made the order and finally got to unboxing and assembling my new keyboard.
As a side note, I didn’t want to wait for my keyboard to arrive, so I decided to train myself to use only thirty-six keys on my Advantage. I read up on keyboard layouts for limited-key keyboards — what a wonderful world of new skills and pain!

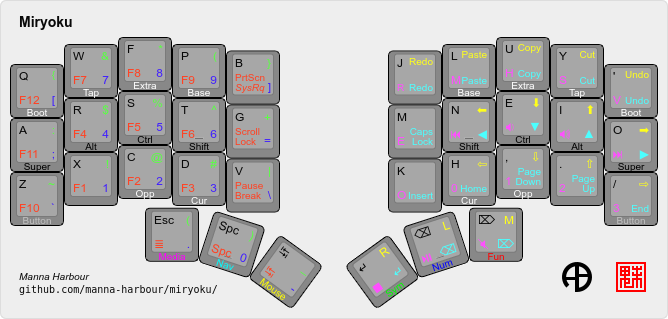
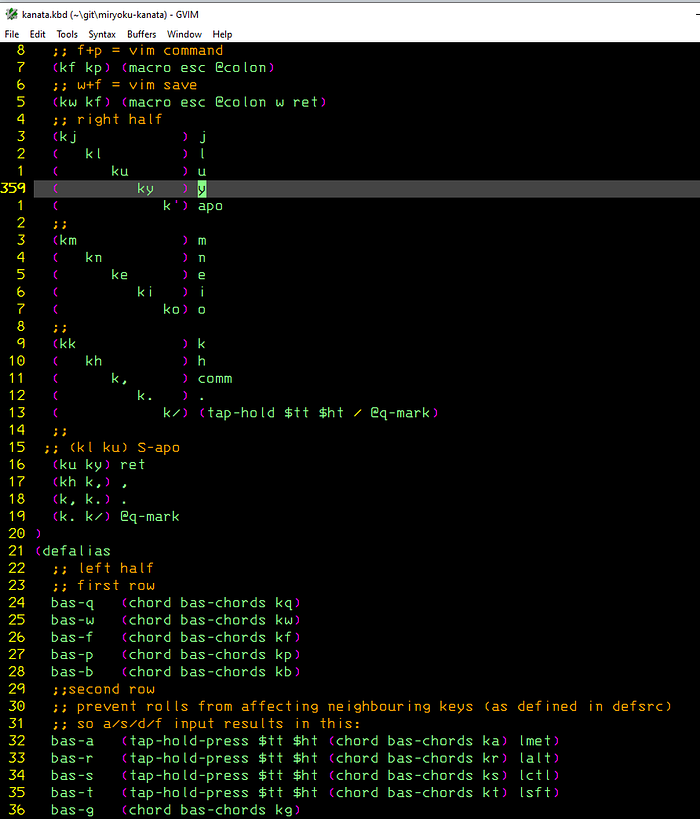
I also came across this wonderful system called Miryoku. It allows you to build a desired layout for your keyboard automatically based on its philosophy of using multiple layers, home-row-mods, thumb keys, and so on. But how do you use this thing without a physical keyboard that supports re-programming? Well, it turns out there are two programs (both work on all three platforms). The first one is called KMonad. The second is a complete rewrite in Rust, its name is Kanata. I tried the first one but had two issues with it. First, it doesn’t support chords (when you tap two or more keys at once and get something other than the combination of symbols you tapped). Second, it doesn’t allow you to control your mouse (it’s supposed to be able to control mouse keys in Windows, but that didn’t work for me). I was even able — with friendly support by its author — to compile Kanata for Win11/Arm64 to use on my ARM laptop.
While Miryoku directly supports KMonad, with Kanata, I was out of luck. I manually adapted the configuration file from KMonad for Kanata and started the process of getting acquainted with my new keyboard that was still in transit. Oh, and I also decided to change keyboard layout from QWERTY to Colemak-DH, specifically tailored to ‘matrix’ keyboards. Because you know, why not?

Anyway, by the time my Piantor arrived, I was extremely happy with myself, especially in regard to using only 36 keys (re: the Colemak-DH — not so much, my progress is painfully slow).
I also found out that my venerable Advantage is in fact hackable. The problem is — it’s a hardware hack, so you need to order some PCBs, chips, pins, sockets, and worst of all, you need to solder. That’s not me. However, I discovered there’s this brilliant thing called a USB-USB converter by Hasu. I ordered one, and it miraculously arrived ahead of the keyboard. My next step is going to be re-programming the converter, so it does everything that the Kanata program does at the moment.
Finally, the unboxing!


That, however, was not the end. I screwed up by flashing the wrong firmware. Thankfully, I was able to recover.
Now — to learning QMK, I need to make lot of small changes to Miryoku.
Update 2024/06/06:
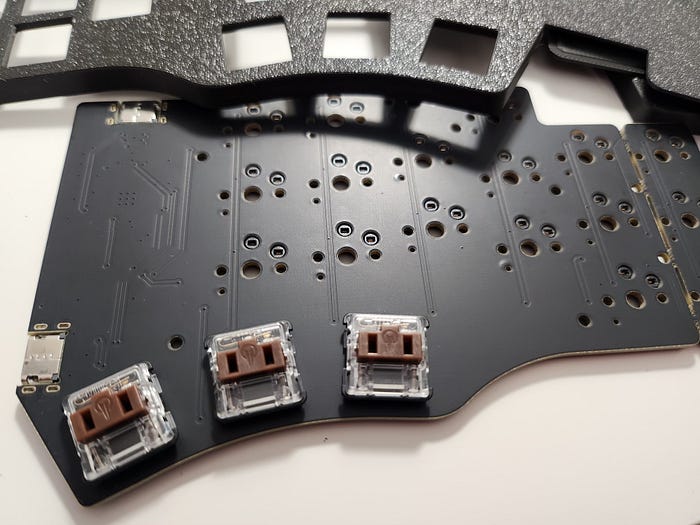
- Drilled a hole to access the reboot button.
- Added a magnetic holder, for tinting.
- Swapped switches for Kailh Pale Blue (clicky, 70g force).

4. Swapped the keys on my venerable KB500!

